
I finally finished Bl’s (22 mo) apron Wednesday, so I was hoping for an excuse to use it. (I’ll try to get the post up with “directions” . Someday…) After Bl brought me the third empty playdough container to open in a vain attempt to find some to play with, I realized we had a perfect excuse. When Bl grabbed his apron & brought it over to me, I realized my time was at hand. 
I remembered running across a playdough recipe that used Jello & thinking “Oh, great, that would give me something to finally do with that Jello I bought on sale other than just figure out different places to store it….”
Course, I couldn’t quite remember where I had seen the recipe, but that’s what Google is for…
After perusing a few versions, the directions & recipe I followed was one I found, written by a mom, at Instructables.com. (It had more salt than the other recipes I saw, which I figured what help keep it from growing gross things as quickly)
In case the link gets broken, here is the recipe:
- 1 Cup white flour & extra for kneading (regular, all-purpose flour)
- 1/2 Cup salt
- 2 Tablespoons Cream of Tartar
- 2T vegetable oil (we used olive oil, ’cause that’s what we had)
- 1 3 ounce package of Jello
- 1 Cup warm water

The ingredients
We also needed:
- bowl (to mix the ingredients in)
- measuring cups & spoons
- whisks or something else to stir the ingredients together
- pan (& stove!- to cook the playdough)
- heat safe thing to stir playdough as cooking ( I used a silicone spatula)
- Silpat/parchment paper/wax paper (to put hot playdough on to cool, and to knead the playdough with additional flour once cooled)
Br (4 yrs) was easily rounded up to help too. I had the boys help me measure the ingredients, dump them in to the bowl & then mix them “thoroughly.”

I was a little nervous it was just going to be “flour” colored, until we added the warm water.
 to the dry ingredients. Bl's reaction: \"Yuck!\" Didn't know he knew that word! Notice the distrusting look he is giving \"that green stuff\"...")
There was a distinct (& pretty instantaneous) color change when we added the warm water, as well as the additional sensorial component of the scent from the Jello (lime-y, in our case).
The next part is a Mommy-job: pour the whole mess into a pan & cook over medium-low heat, stirring continuously. As the directions said, it got “thicker, then lumpy, then clumpy, then just one big ball!”


")
Dump the cooked playdough on a heat-safe, non-stick material (we used a kids silicone rolling mat we have), but a silpat/silicone baking mat, parchment paper, or wax paper were other recommendations.
It took a few minutes to cool enough to touch, and keep in mind it will be hotter inside, so be careful as you start kneading, especially if little hands are helping.
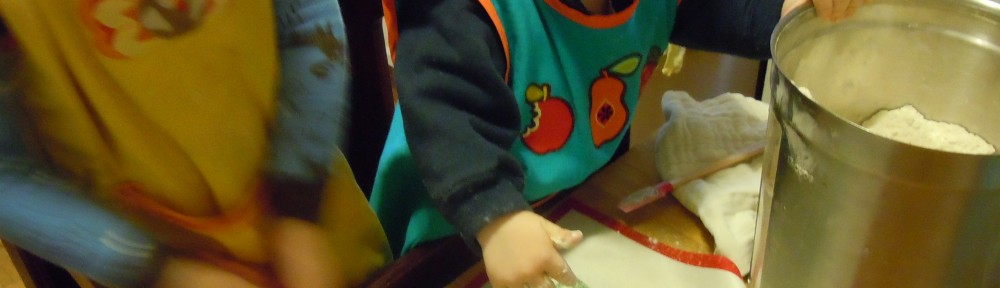
Then it is time to play! Of course my camera battery died at this point,so the picture I have is from the second round of playing with the Jello playdough, which happened after playing outside, so Bl is wearing his “ear-warming hat”.

This was my first time making playdough, and I was pleasantly surprised with how easy it was! It was an awesome experience for the boys. They always love helping in the kitchen (& is always great opportunity for sensorial, practical, and math/measuring skills), but getting to witness how drastically the ingredients changed from dry to wet to cooked was also a great “science lite” experience (less “lite” if I had taken the time to emphasize how & why the changes occurred… maybe next time!).
And playdough is always great! (…okay, except when it gets in your carpet. Then it is fairly major suckage…) It took awhile to get Br (borderline sensory issues) to actually touch the playdough with his hands – he was intially just touching it with “tools”. It finally happened after I made a “snake” for Bl (which Bl thought was HILARIOUS), and Br decided he would show that he could make one too. It’s nice to be reminded that 4 year old ego can sometimes serve some positive functions too!
It’s nice that I know exactly what was in this, and all the ingredients are totally edible (though I reminded the boys it wouldn’t be good to eat it…with all the salt, it would probably taste pretty gross too). The batch probably made a few of the full-size containers worth of playdough. I found a recycled wide-mouth (shallow, with straight sides) glass jar with a lid in our cupboard to store ours in. Some recipes recommended storing it in the refrigerator. I’ll see how it does…
Yeah, use for Jello other than crowding cupboards, frightening unsuspecting potluck go-ers, or taking down naive college students!
Have you tried this? Any other uses for Jello I have been missing out on? I’d love to hear!
I love how involved your boys were in the whole playdough-making process! Thanks for the recipe and thorough directions! I featured your post at the Living Montessori Now Facebook page and pinned it to my Playdough and Craft Recipes Pinterest board at http://pinterest.com/debchitwood/playdough-craft-recipes/.
Thank you Deb! The boys definitely loved it too. The playdough has been in heavy use since we finished it, so it is a good thing the recipe makes such a nice & moist version!
Hello! Just want to say thank you for this interesting article! =) Peace, Joy.