We are actually visiting family in the San Diego area right now (nice, huh?), and I am crazy behind on posting. We’ve continued with our letter activities. As you may have noticed, we aren’t going anywhere close to alphabetical… I’ve let Br (3 3/4) pick what letter he wanted to work on next, usually by having him try to identify the first letter sound of something we are talking about.
The other day, we did “Letter S” for our letter of the day. Br found his phonics cards for the letter “S”, and watched the requisite related YouTube videos (“Letter S” songs and Snowplows, this time 🙂 ). Then we did our “memorable event”: this time, a craft that doubles as a cool gross motor activity. And it’s cheap, quick, & Br LOVED it. (Yeah, the kid craft trifecta!) Drum roll, please…..
Yogurt Container Stilts!
I first spotted something similar a few months ago while blog-surfing. If you recognize or remember who had the idea first, please leave a comment with the blog name. I would love to give them their credit!
Materials:
- 2 recycled large yogurt containers, with lids
- thin rope
- sharp scissors
bonus item: we had some hollow foam cylinders, which I think were part of the packing for our stroller. Not necessary, but were nice, if you can find/figure out something similar.
Let me first apologize for the quality of photographs. Br was super excited about these, so I didn’t have time to do silly things like make sure the photos were in focus. Also, my niece and brother were visiting, so you may notice I also didn’t have time to clean the house. 🙂
1) Measure your rope to cut: go from the ground up to their hands hanging at their side, leaving plenty of extra rope to tie a knot ( left extra additional, to allow for growth spurts/re-using the rope, as I’m super cheap to be efficient). You’ll need to of these.
2) Use your sharp scissors to poke a hole in the side of the yogurt container, near the base of the container:
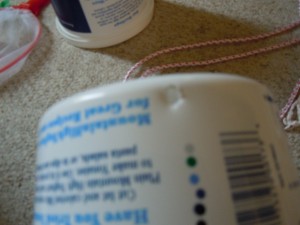
3) Make a second hole on the opposite side of the bottom of the container
4) Thread the rope through the holes, with each end going from the outside to the inside of the container (so the ends of the rope end up inside the container) (if you have the bonus handle piece, thread it on before this)
5) If you left lots of extra rope, knot the end (we’ll measure for final knot next step)
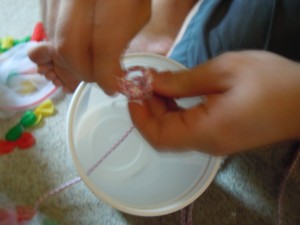
5) Place the stilts next to the kid, with the base of the yogurt container on the ground. With the child’s arm at their sides, have them hold the rope while you pull it tight through the holes (with the lid off).
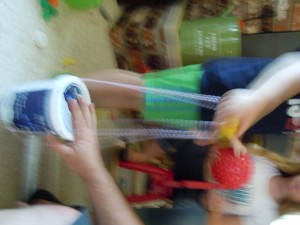
5.5) Mark with your fingers where the rope comes together at the bottom, then pull it through a little farther so you can place your knot about where you’d marked with your fingers.
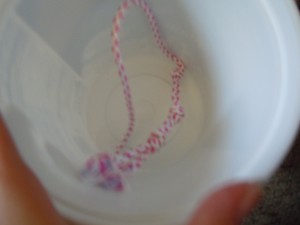
6) Place the lid on, flip it over (so the lid is on the floor and the rope feeds up to your kids hands), and let your kid go stilt-crazy!
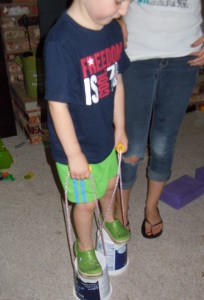
Br probably walked around on these for a good 1/2 hour (inside, outside, to wave goodbye to his cousin & uncle…). They eventually started to have issues with one of them partly collapsing, but I just took the lid off & popped it back into place when that happened. At some point we’ll probably have to switch out for new yogurt containers- shouldn’t be a problem, we go through yogurt pretty fast!
My (tall) 11-year old niece thought these were pretty cool too. We made some for her, but they only lasted a couple steps before they collapsed.
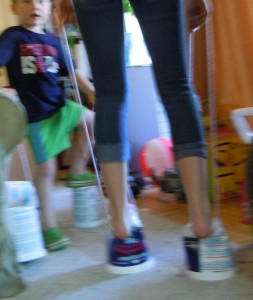
We used that as an opportunity to discuss what might make them stronger. We finally determined “for bigger kids, we probably should make the stilts out of a block of wood (drill a hole through the middle for the rope).”
In case your kiddos would like more inspiration, here is a picture of some “professional stiltwalkers” (Chinese acrobats) we saw at the San Diego Zoo yesterday:


