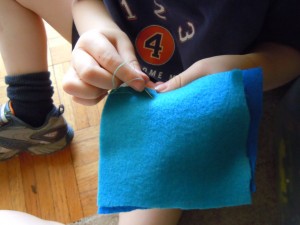
At least at the preschooler skill level, this is one of those gifts that will probably only be appreciated by people who REALLY love your kid and/or don’t have a strong aesthetic attachment to their coasters, as it is a gift that is vaguely functional, but mostly sentimental.
Br (3 1/2) made his first one for my mom for Mother’s Day (who lovingly exclaimed at the “artful” placement of the stitches, with great sincerity), and we decided this might be good to make for Daddy for father’s day. I thought it might slightly compensate for the fact Br regularly asks unanswerable questions like “Why does Daddy drink soda all the time when it’s not good for you?” ( I SWEAR I didn’t put him up to it)
Materials:
-flannel (we used 2 different colors of the small rectangular pieces you can by for ~$0.25 for plain solid colors to ~$1.00 for the “fancy” embossed/glittery/etc. ones)
-something “coaster sized” to trace (keep in mind straight lines are easier to cut)
-chalk (we used sidewalk chalk)
-scissors
-needle & thread (Br choose to do 2 different contrasting colors. Hey, it’s his present to Daddy…)
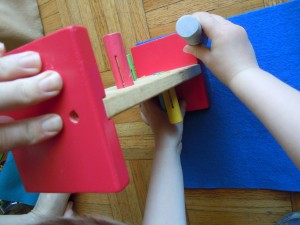
I helped Br line our object up with the corner of the flannel (so he’d only have to cut 2 sides) and steadied it while he traced around it with the sidewalk chalk. Br is old hat at this now, but make sure to explain to them to keep the chalk right against the object so they get a nice straight line, and check that it is showing up on the flannel, in case they need to trace over it again.
Have them cut along their chalk lines.
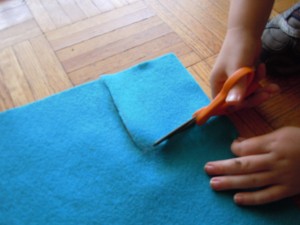
Repeat with the second piece of flannel. Match the 2 pieces together. Let your child choose their thread (Br chose “aqua” thread for the first needles worth, and “black” for the second), and thread the needle.
Voice of Experience: I “double-threaded” it so the thread won’t pull out of the needle as they are sewing- pulled the thread through so it is doubled over (twice the length you want it, with the needle in the middle, and then the two ends tied in a single knot) and made it about a foot and a half long (long enough to give room for free sewing, but not unmanageable for short arms). I did need to do multiple needles worth for Br to get the whole coaster “sewn”.
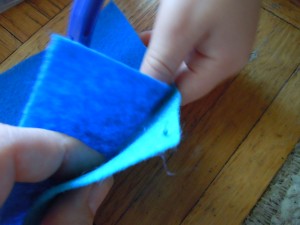
I started the needle in the coaster for him (put the knot on the inside),and then let Br take over. The first time we did this activity was the first time Br had sewn, so here is a summary of the directions I gave him:
1)showed him the needle and explained the pointy end is what he will push though the cloth, but to watch out that he doesn’t poke himself with the pointy end
2)Once he has poked the needle partially through, grab the needle on the other side and pull it the rest of the way through
3) pull the thread tight, but not so tight the fabric gets wrinkly (showed what it looked like if the thread isn’t tight enough, as well as how to flatten it back out when it gets pulled too tight)
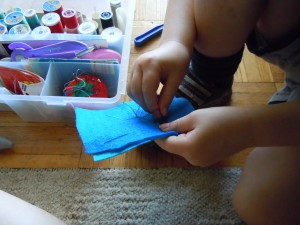
4)be careful to go back in with the next stitch from the same side you came out (this needed lots of reminding, with a few we didn’t catch early enough, which then goes back to making sure you don’t pull the thread so tight it gets wrinkly…)
I kept an eye out for when the thread was getting short, then offered to tie a knot and start a new thread for him. He was pretty well done with the activity by the time we were almost done with the second needles worth (was starting to suggest “Mommy, you can finish it…”) I tried to suggest he put some stitches in corners he hadn’t sewn yet as he was getting to the end.
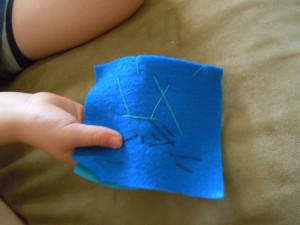
Happy Father’s Day!


